How to Remove Villagers in Lego Fortnite? Welcome to the exciting world of LEGO Fortnite, where building villages is a key element of the gameplay experience. As you immerse yourself in this captivating game mode, you’ll soon find wandering villagers seeking a place to call home. While these virtual residents add a dynamic element to your creations, there may come a time when you need to make some changes or clear space for new structures.
In this guide, we’ll walk you through the process of removing villagers, ensuring you can reshape your LEGO Fortnite world with ease. Get ready to master the art of village management and take control of your virtual domain!
Table of Contents

How to Remove Villagers
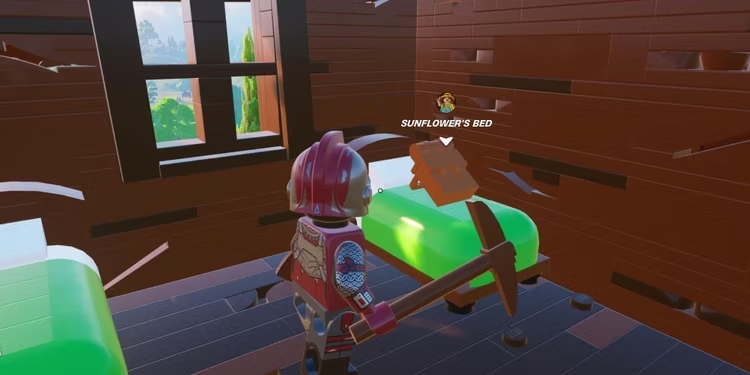
- Locate the Villager’s Bed:
- Identify the bed belonging to the villager you wish to remove.
- Break the Bed:
- Use your building tools to break the villager’s bed. This action signals to them that it’s time to find a new home.
- Villager’s Reaction:
- After breaking their bed, the villager will express concern about having no place to sleep. This is your confirmation that they have received the message.
- Wait for 5 Days:
- Exercise patience as the villager contemplates their next move. They will give you a five-day grace period to provide them with a new bed.
- Avoid Crafting Beds:
- Refrain from crafting new beds during this waiting period, as the villager may claim them, complicating the removal process.
- Pack Up and Leave:
- If the villager doesn’t have a bed within the given timeframe, they will reluctantly pack up and leave your LEGO Fortnite village.
- Beware of Bed Ownership:
- Keep in mind that when attempting to remove a villager, they may still claim any new beds, even if crafted by a friend. Exercise caution and plan accordingly.
Follow these steps to efficiently manage your LEGO Fortnite village and ensure a smooth transition when it’s time for certain villagers to move on.

How to Recruit Villagers
- Check Your Village Level:
- Assess your current village level, as it determines the number of villagers you can accommodate simultaneously (1-5 villagers).
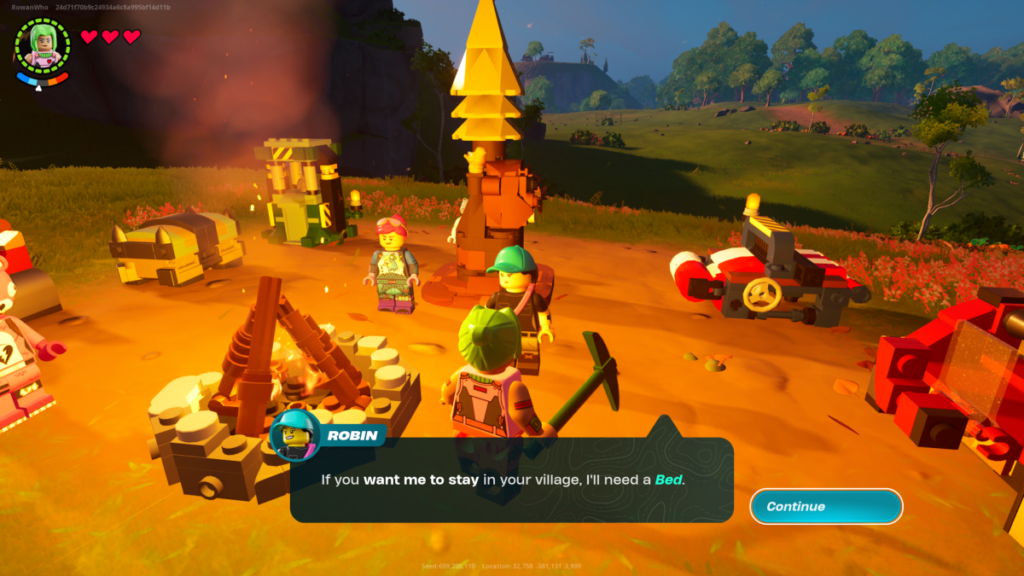
- Prepare Beds:
- Ensure you have enough available beds in your village to accommodate new villagers.
- Villagers Passing Through:
- Villagers will naturally pass through your village and stay the night. Take this opportunity to interact with them.
- Initiate Conversation:
- Talk to the villagers during their stay. This can be done during the night they spend in your village.
- Second Conversation:
- On the second interaction with a villager, you should find the option to invite them to live in your village.
- Listen for Requirements:
- Pay attention to the villager’s response. They might indicate if there are specific conditions or upgrades needed for them to stay.
- Upgrade Your Village (if necessary):
- If a villager mentions the need for a village upgrade, take note of it. You may need to enhance your village to accommodate more residents.
- Provide Extra Beds:
- Ensure there are unclaimed beds in your village for new villagers. Most of the time, this is the only requirement for them to settle down.
- Villager Claims a Bed:
- Once a villager agrees to stay, they will claim an available bed in your village. A small sign will mark the bed as theirs.
- Welcome Your New Resident:
- Congratulations! With a claimed bed, you’ve successfully recruited a new resident to your LEGO Fortnite village.
Follow these steps to effortlessly expand and enhance your LEGO Fortnite village by recruiting new villagers. Interact with the passing residents, address their needs, and watch your virtual community flourish.

We hope you have now a better understanding on how to remove or recruit Villagers in Fortnite! If you liked this guide, make sure to check out our other LEGO Fortnite Articles!


