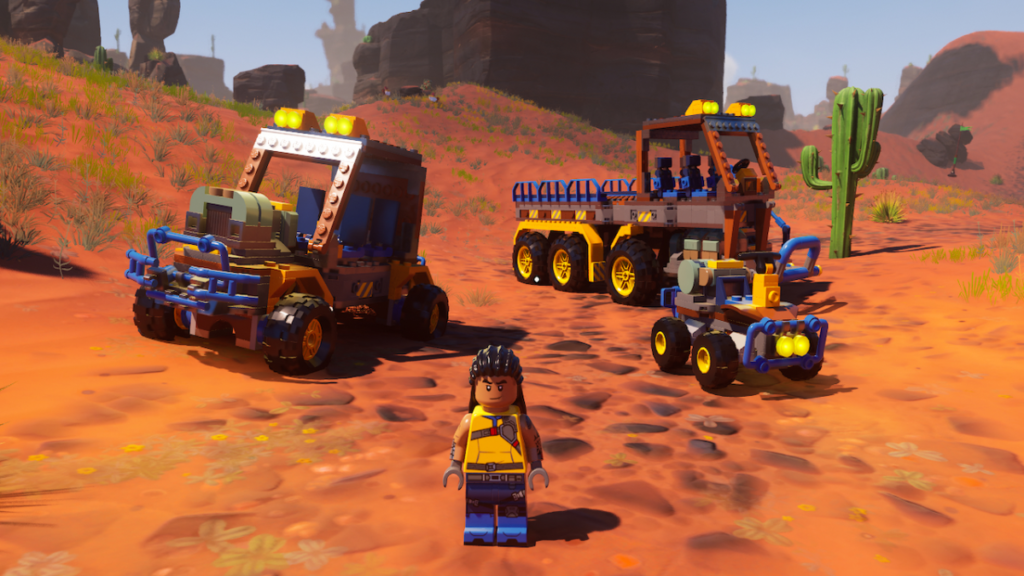
Are you tired of trudging across the pixelated plains of LEGO Fortnite on foot? Do you yearn for the wind in your blocky hair as you zoom past your fellow minifigures? Fear not, my fellow brick enthusiasts and know How to Build a Speeder! Today, we embark on a quest to construct the ultimate ride: the LEGO Fortnite Speeder. Buckle up (or, well, clip your studs together) because we’re about to break it down, brick by brick.

Table of Contents
How to Build a Speeder
Step 1: Gather Your Plastic Arsenal
Before we dive into the nitty-gritty, let’s assemble our tools. Raid your LEGO stash like a seasoned looter. Here’s what you’ll need:
- Get Crafty with Biomass and Glass:
- Raid the compost bin for biomass (50 units) and fire up the sand to smelt some glass (6 pieces).
- Pro tip: Don’t forget your sunglasses for the glass smelting party!
- Power Up at the Crafting Bench:
- Combine your newly acquired biomass and glass at the crafting bench to create a power cell.
- It’s like mixing a potion, but with more eco-friendly vibes!
- Unleash Vehicle Mania:
- Congrats! Your first power cell unlocks the holy trinity of vehicle recipes, including the legendary Speeder.
- It’s like getting the keys to a treasure trove, but with wheels instead of gold!
- Speeder Assembly Madness:
- Head to your build menu’s Rugged Rollers category to locate the Speeder recipe.
- Prepare for the ride of your life by gathering materials for its four stages:
- Wooden Rod x18
- Cord x8
- Plank x2
- Wood x8
- Granite x9
- Remember, it’s not just building; it’s an adventure in carpentry chaos!
So grab your hammer, channel your inner craftsman, and let’s roll with the Speeder!

Step 2: Assemble Your Minifigure Pit Crew
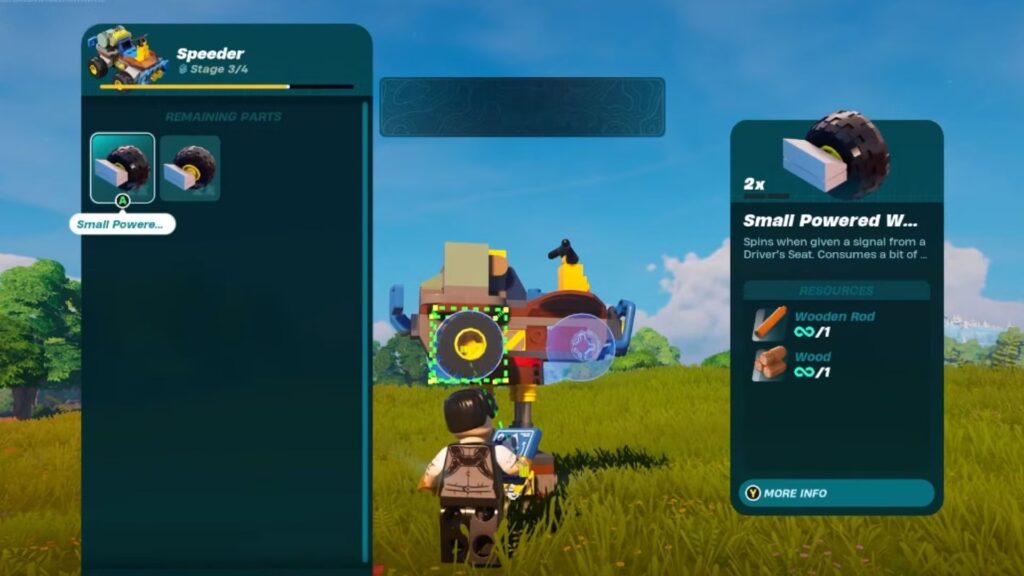
Once you’ve whipped up your latest creation, it’s time to hunt down the Speeder in your build menu and slap it onto the ground to kickstart the whole shebang. Now, building this bad boy ain’t no walk in the park; it’s a four-stage extravaganza! But fear not, my friends, if you find yourself short on materials, you can keep that puppy on standby until you’ve scavenged up what you need. Once you’ve conquered the construction chaos and the Speeder car rolls onto the scene, just give it a power-up, and voilà! You’ve got yourself a ride fit for a king (or at least a speed-loving gamer)!
Step 3: Construction Montage (Cue Epic Music)
- Lay the Foundation: Attach the Vehicle Base to your workspace. Pretend it’s a sacred tablet handed down by the LEGO gods.
- Insert the Small Power Center: Slide it in like a pro. Wiggle it a bit. Whisper sweet nothings to it. You know, standard assembly stuff.
- Power Cell Placement: Carefully position the Power Cell. Imagine it’s a rare gemstone. Or a really fancy cheese. Whatever floats your LEGO boat.

Step 4: The Moment of Truth
With trembling hands (or, well, trembling LEGO claws), power up your Speeder. The Power Cell hums, the Small Power Center does a little jig, and the Vehicle Base quivers with anticipation. And then…
VROOOOM!
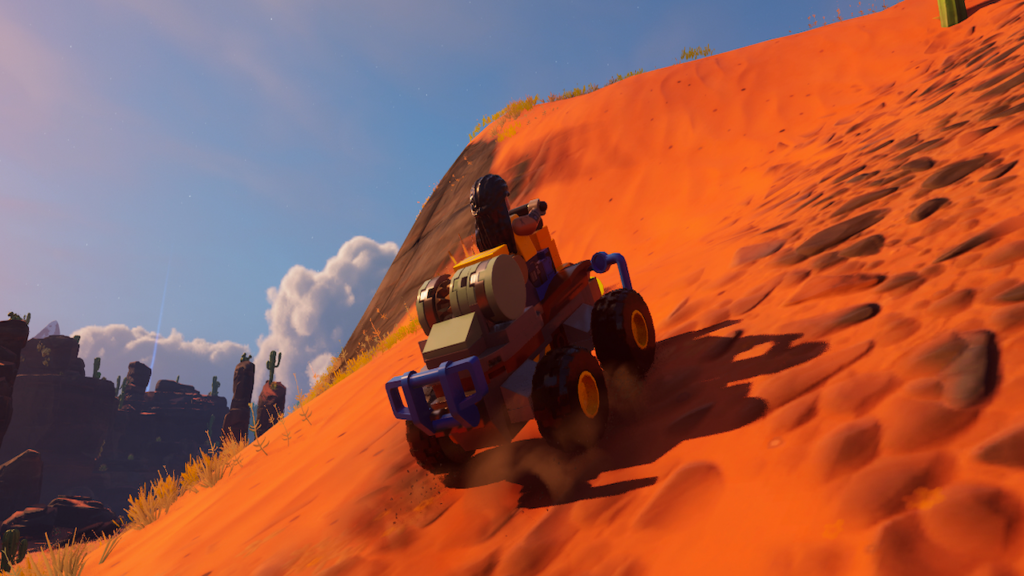
Your Speeder shoots forward, leaving a trail of studs in its wake. The wind whistles through your helmet (because safety first, kids). You’re a minifig on the edge, defying gravity, and shouting, “Wheeeee!” in a high-pitched voice.

Bonus Tips
- Custom Paint Job: Slap on some neon stickers. Flames, lightning bolts, or a smiley face—express yourself!
- Speeder Racing League: Challenge your friends to a Speeder race. Winner gets the last piece of pizza.
And there you have it, fellow builders! Your very own LEGO Fortnite Speeder. Now go forth, conquer the pixelated plains, and remember: Life is short, but LEGO bricks are eternal. And hey, if you’re hungry for more Fortnite wisdom, be sure to check out our other LEGO Fortnite Articles for even more tips and tricks to elevate your gameplay. Until next time, happy gaming, adventurers!
Disclaimer: LEGO Fortnite is a fictional game, and constructing a Speeder in real life may involve fewer studs and more adult supervision. Please don’t attempt to ride your creation off a cliff. We’re not responsible for any minifig injuries.


