Hey there Moth kids, are you ready for more trials and tribulations while exploring the Eye of Eden? I hope so, because today I will give you some tips on how to beat the last Realm of Sky Children of the Light!
Oh yeah, since this is the last phase of the game, there will be spoilers ahead, so read it at your own risk.
This article will focus more on the level itself, but if you’re confused or doesn’t know much about the game yet, I recommend you to check part 1! There, all these initial questions are answered. So, without further ado, let’s get started!
Before Entering
Before entering the Eden Realm, it is recommended to do the following:
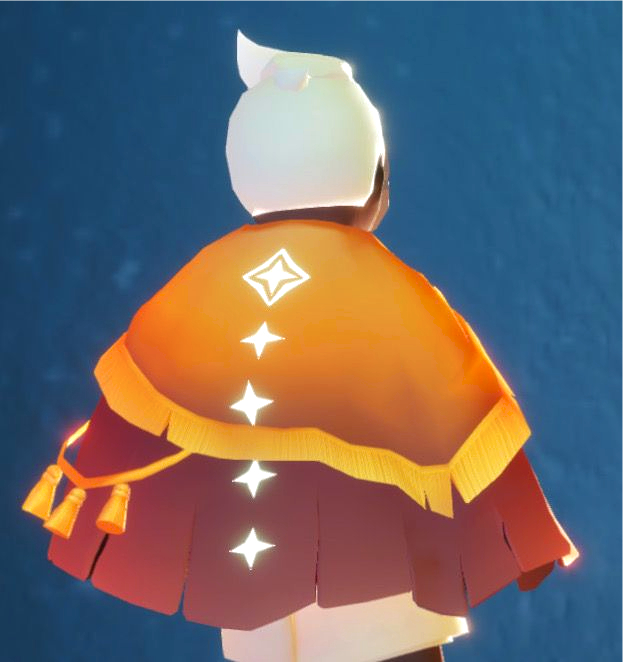
- Have at least 20 Winged Lights: but having more is highly recommended, since you’ll be able to earn more Ascended Candles in the end. If you lose them for the initial enemies or hazards that appear on this Realm, you won’t be able to earn as many Ascended Candles.
- Have more people accompanying you: it is recommended, but it’s not a requirement. Friends will help you out when needed, and besides, just by staying close to them, your Wing will recharge much faster and easier. So, you don’t have to worry on going near lamps to recharge.
- Unlock as many spirits’ spells/blessings as possible beforehand: the regular spirits and traveling spirits (the ones that appear on seasonal events), are the ones that give you permanent wing buffs on your next reborn.
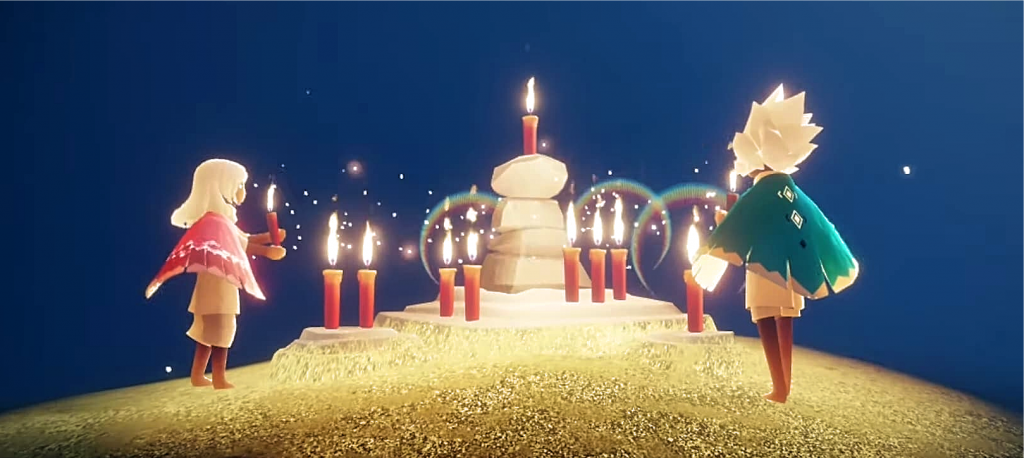
- Bring regular candles as well: on the final stage of the Eden, you’ll be able to see all the spirits constellations again, just like you do it regularly at Home. After gaining Ascended Candles, you can use them to unlock more spirits’ spells/blessings and then, use the regular candles to buy what’s missing.
How to beat Eye of Eden Stages
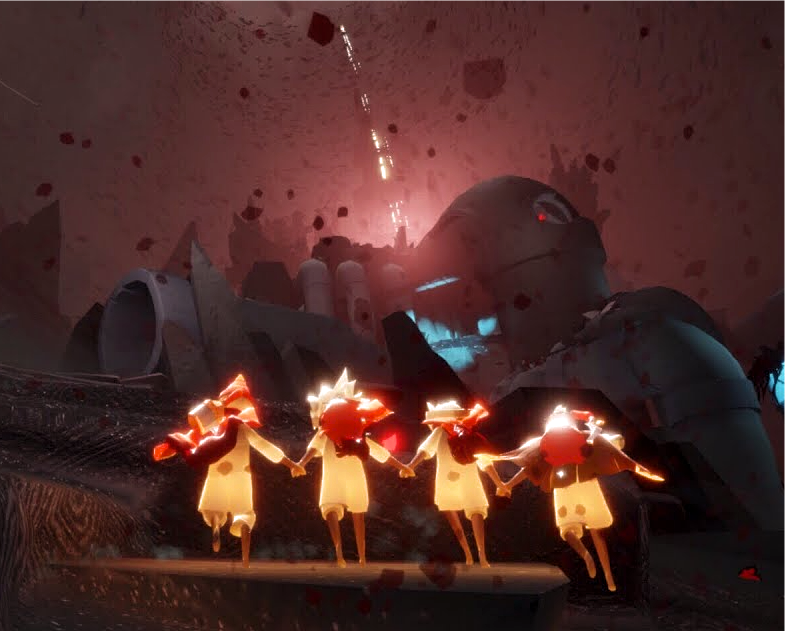
After entering the Eye of Eden gate, you will notice it is divided into sections and, as much as you go further, the worse it gets. It can be quite alarming to newcomers (or even to veterans like me), but apart from being much more chaotic, overwhelming and scary than any other realm up until now, if you do it with caution and patience, you’ll see that this level can be as simple as the others.
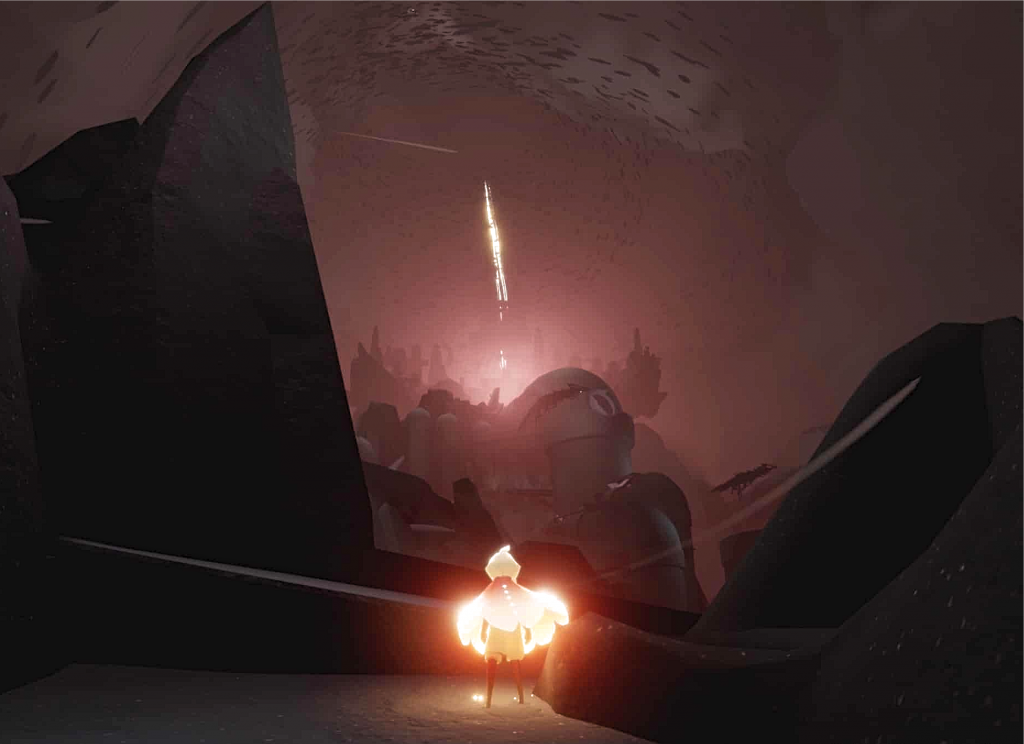
The overall map is pretty linear, so you don’t have to worry much on where to go. Sure, it can be frustrating when you go up to somewhere you shouldn’t be, but in the end, all you can do is to go back and try again.
My tip here though is, if you’re lost, just follow the lights. Welp, this sentence couldn’t be more fitting since, you know, your character will die in there, so… Ok, ok, I’ll stop.
But seriously, the light statues, apart from having only a few in Eden, will surely guide you on where to go. You can also take a break, study the terrain, and see which way is best to go through.
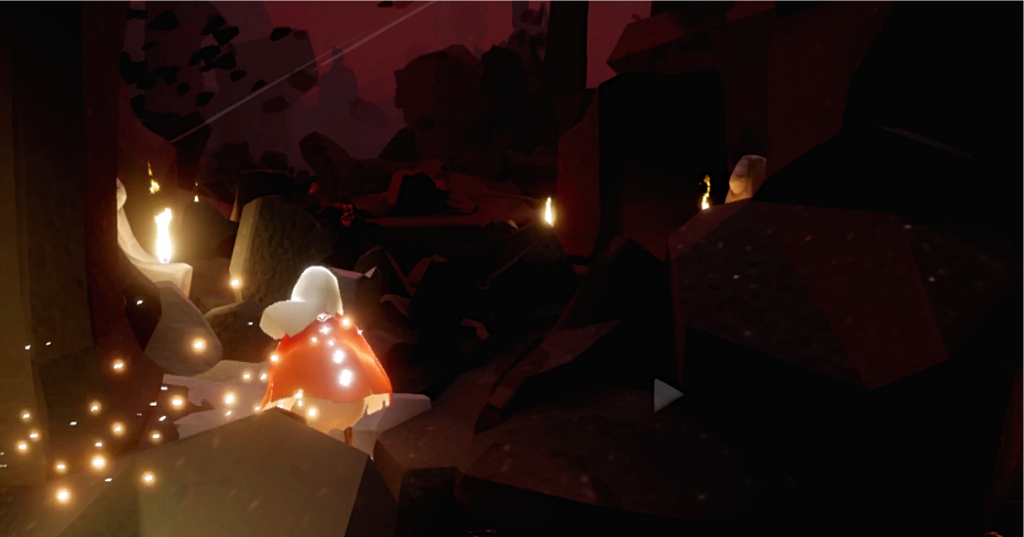
Observation: Oh yeah, before continuing, do not lose your wing lights to enemies or hazards before the last stage. This is important to get as many Ascended Candles as possible.
Stage 1: Elemental Hazzard
This first stage is pretty simple (at least compared to the upcoming others). All you have to do is avoid the rocks that will come flying right at your face. Pretty simple, right?
My tips for this part are:
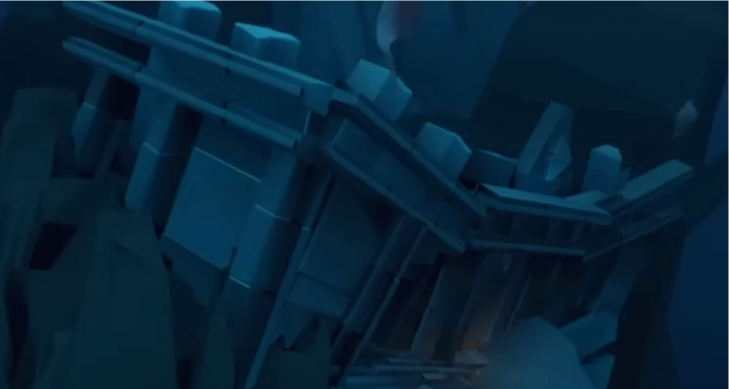
- Stay close to the left side columns and rocks. So you can get cover and gain an advantage while avoiding the flying rocks.
- The wind and rocks follow a pattern. Just like any timed puzzle game, you’ll have to wait for the wind to stop blowing in order to finally move again. To take it simple, you see the wind with rocks, take cover, wait until it stops, and then run to the next cover.
- An important tip here is to not fly, like, ever. Since it is a windy scenario, if you fly you’ll just get pushed far away. So do not fly. Just go by running and jumping.
- After some time, you’ll have to worry only with the wind. In that part, again, you’ll have to wait for it to stop in order to continue jumping over steps and hills. Still, just like flying, if you jump at the wrong time, you’ll get pushed away. So be patient here and you’ll be good.
- To complete this part, just enter the indicated ruin to proceed. It is followed by a linear path and it is the only illuminated place there, so no worries here. After entering, take the wing light there, recharge your energy on the lamps, and open the gate to continue your journey.
Stage 2: Wind, Rocks, and Enemies Everywhere
This stage is actually divided in 4 sub-stages. Yeah, I know, it seems like a never ending hell, but trust me, if you go with caution, there’s no need to worry. Each stage works like a timing and well calculated puzzle so, in end, it is still simple when you think about it.
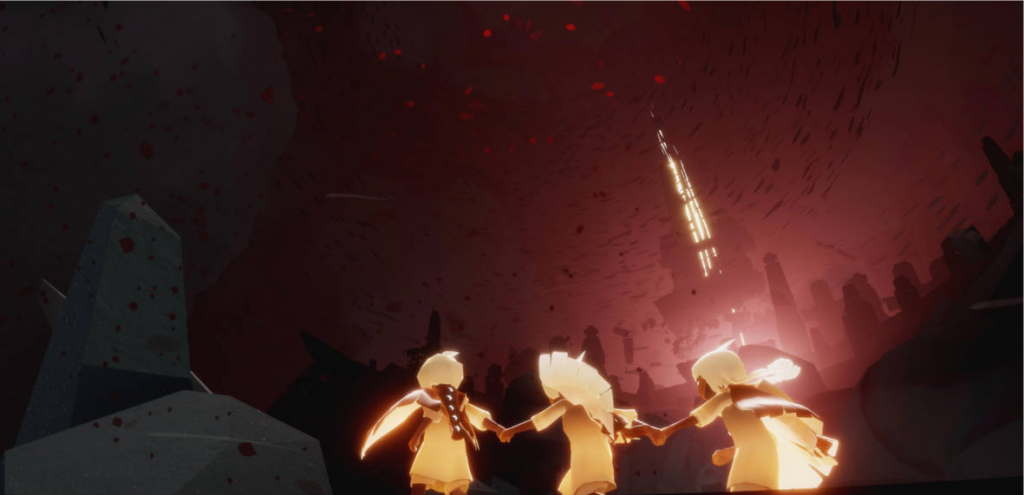
- Part 1 – Wind and Rocks again: well, I don’t have much to say to this part, it is pretty much the same thing as stage 1. Just stay close to the walls on the left side of the map, follow them and always stay behind rocks, walls or hills to avoid the flying rocks. Again, they are all timed, so just wait for them to stop and run to the next cover.
Observation:
Ah, just an important info here, avoid all red shinning crystals you see. They may look pretty, but they make you lose wing lights if you stay near them. There are plenty around the map, so avoid it at all costs.
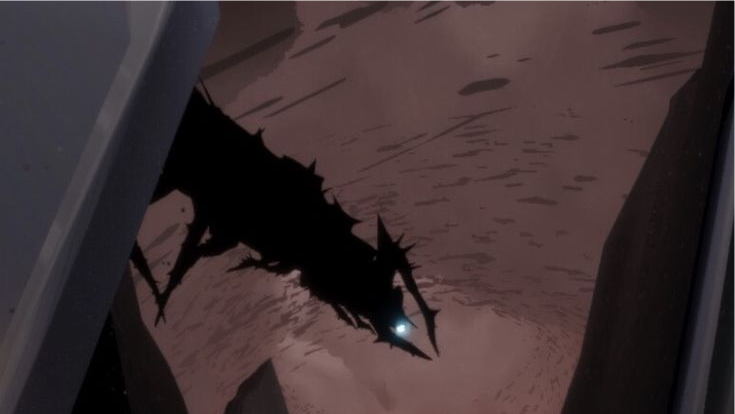
- Part 2 – Dark Dragons: in this part you’ll be dealing with some Dark Dragons (or Krills, kindly named by the fans). At this point, you’ll know how they work. You have to avoid their light gaze in order to not get attacked. While doing so, you’ll also have to climb a ruined tower. This part can be confusing, since the path is pretty slender, but worry not, you are heading to the right way. Avoid Dragons by taking cover under and inside the ruins. Careful to avoid red crystals and crabs on the way.
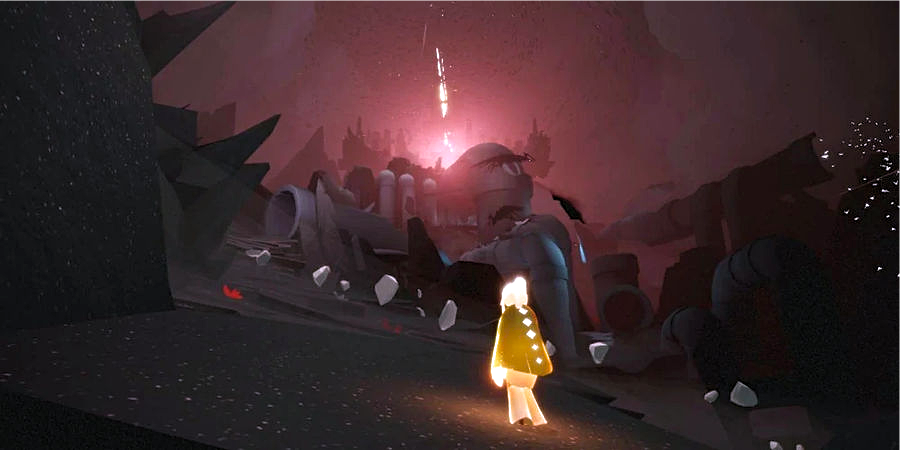
- Part 3 – The last Dragon: after all that, you will be facing the last challenge of stage 2, more wind, more rocks and a Dragon just to mess things up even more. I say this is the worst part through all Eden, honestly, since you’ll be dealing with a lot at once. My tip here is, keep taking cover behind rocks in a corner (I usually go to the right). That way, it is easier to avoid the Dragon’s gaze. Just wait for them to turn around and go. Still, if they manage to find you, walk for a bit around the rock you’re standing on and they may stop focusing on you.
Observation:
Oh yeah, again, do not fly at any circumstances!
- Part 4 – Take a break: After climbing up that hill, taking the wing light standing near the entrance, you’ll enter another ruin. Don’t worry, you’ll be safe there, so take this time to have a breath. Also, there, take all the wing lights you find. There will be plenty, so take them all and recharge your cape, for this last stage, things will get messy.
Stage 3: Journey’s End
Well, well, congrats! You’ve come to the final round! I got to say, this will be the part when your character, well… die. There is no way to avoid this, since it is the game’s will to do so, then yeah, we have to deal with it. The good news is that you always reborn in the end and with more buffs! Let’s see how to get them, then.
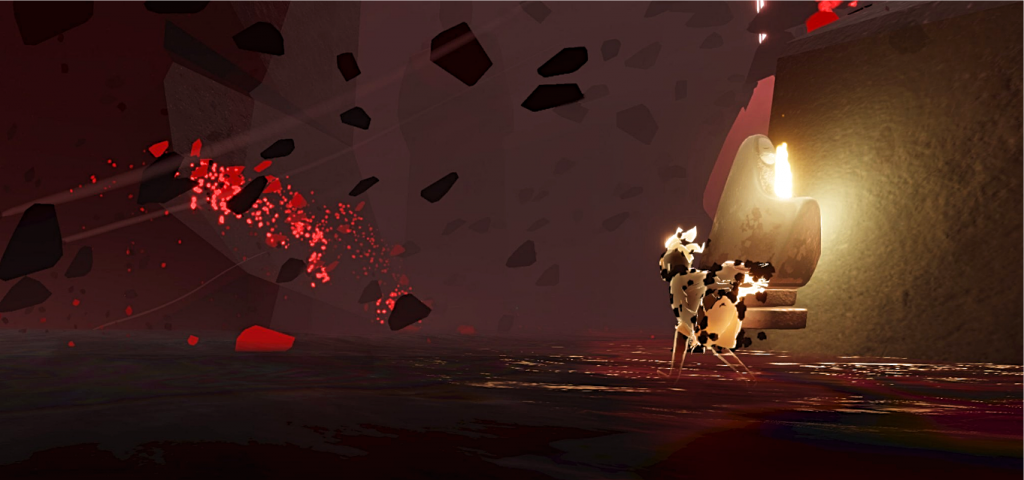
- In this part, again, you’ll have to deal with falling rocks. But this time, it will be much harder to do so. Staying behind walls will help you until some point, but not by the end. Still, keep yourself safe as long as possible, so you’ll get better rewarded.
- A tip here is to always light up the statues you see. So when you lose your lights and get extinguished, you won’t recover yourself without being near light sources or with a friend.
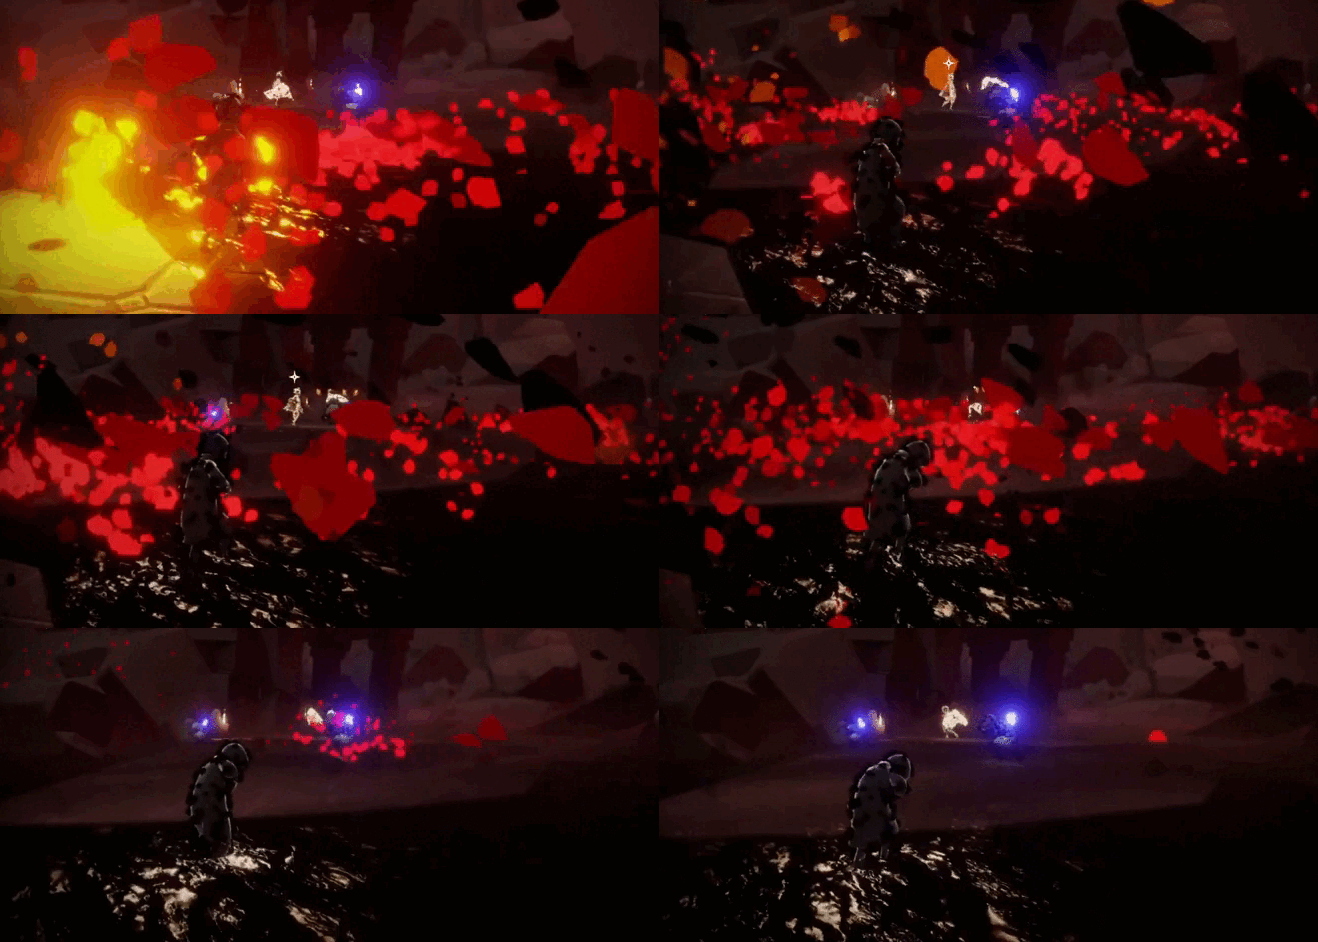
- Still, the main mission here is to save the fallen children. You will encounter several children statues (this sounds horrible, but still, it is). Your goal here is to save them by giving your remaining wing lights, that’s why losing them before was out of question. For you to gain Ascended Candles, you’ll have to save as many souls as possible. Don’t worry, all you have to do is click on their icons when you get close enough. No need to wait for the animation to end, just click on it and run to the next one. We got to avoid those rocks after all.
Observation:
For each statue saved, you receive one quarter (1/4) of an Ascended Candle. Or, in other words, for four statues saved, you receive one Ascended Candle.
- When there’s nothing left to do… your character dies and you finally complete the game. But not before some emotional moments.
Stage 4: Rebirth
After all that suffering, all I can say is that you’ll finally get a moment to relax again. You’ll see some cut scenes and after that, you’ll be able to fly peacefully on a new and breath taking place.
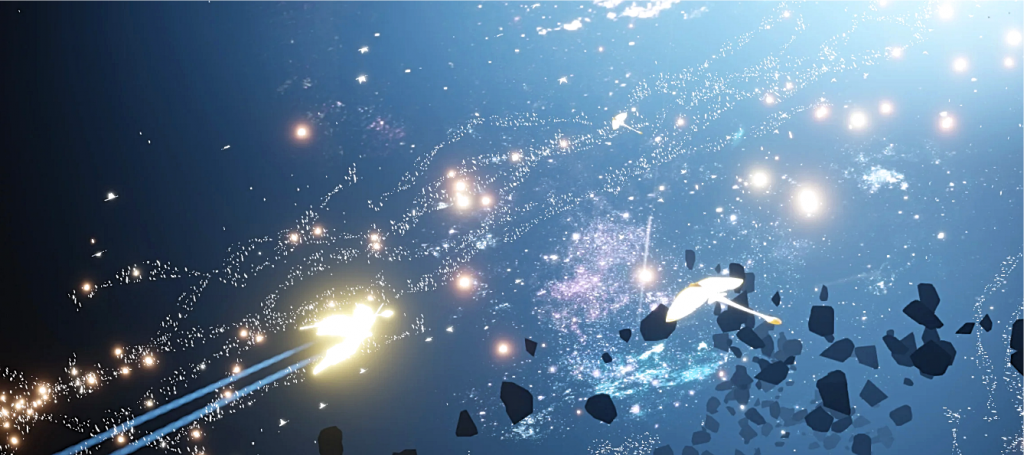
Seriously, this is one of the most beautiful and emotional scenes of the game, so just enjoy it as much as you can, especially if it is your first time doing so. Enjoy the flight, the outstanding visuals and, of course, the wonderful music on the background.
Stage 5: Constellation Hub
After this beautiful moment, you’ll be able to reappear again on a celestial place, and there, you’ll receive your Ascended Candles, after passing close by the spirits you’ve just saved (finally). You can spend those candles right there as well, if you wish, since the constellations will be there for easy access.
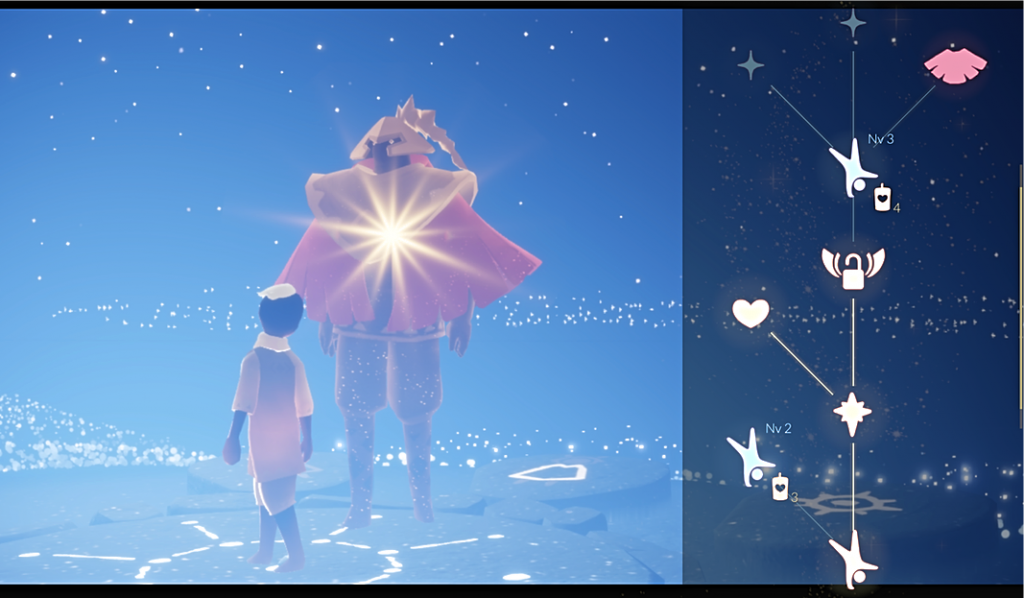
Stiiiill, it is recommended to do so. If you don’t unlock the remaining spirits’ blesses and ascend them to the next level, you won’t be able to get those extra wings buffs until your next Eden run. And you just saw how much of a pain that is, so always spend those candles when possible. Also, the more you ascend, the more charges you’ll have on your cape on the next start.
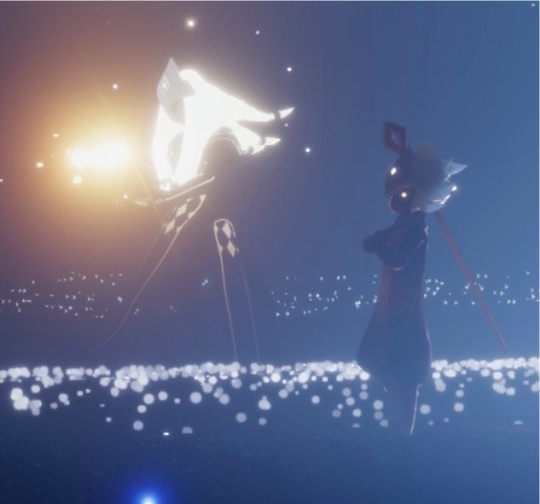
Oh, of course! By ascending the regular Spirits, you can unlock the special gift of the Elden Spirit of each Realm! So you can obtain exclusive hairstyles, how cool is that!
Phew, that was a lot!
Still, that was it for our guide on how to complete the Eye of Eden on Sky Children of the Light! I really hope it helped, and I see you on the game! Who knows, we may bump into each other someday.
Check out for more content on Sky Children of the Light!


